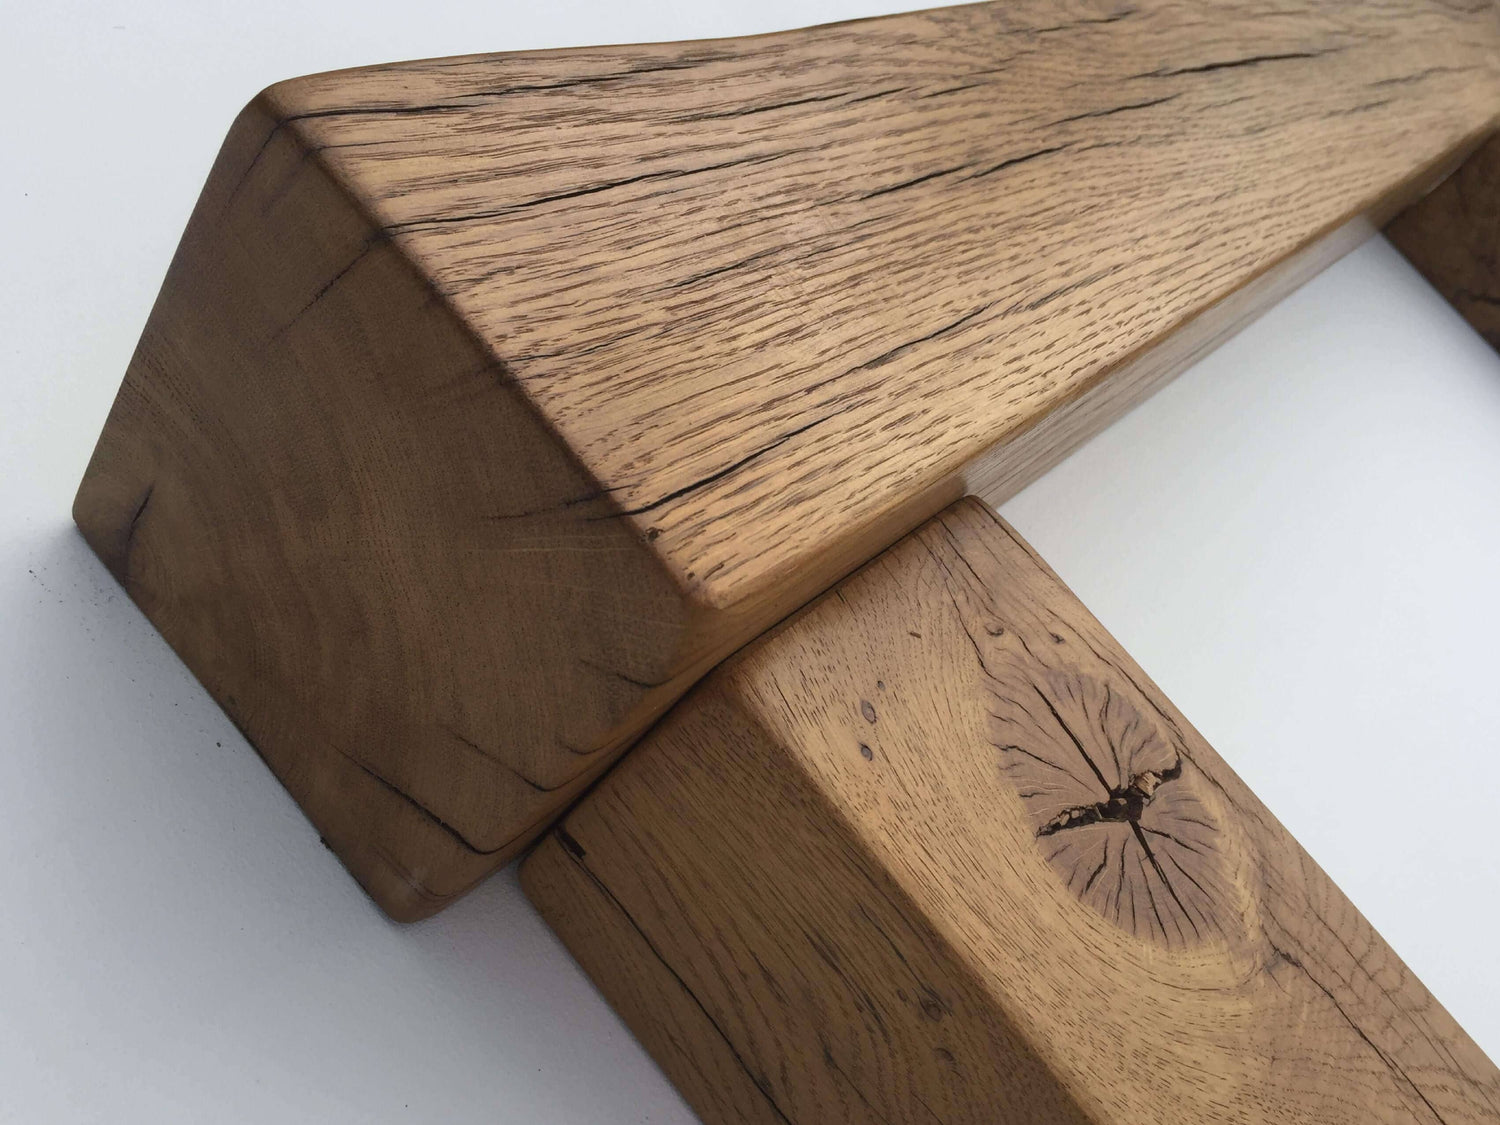

How to Install an Oak Fireplace Surround
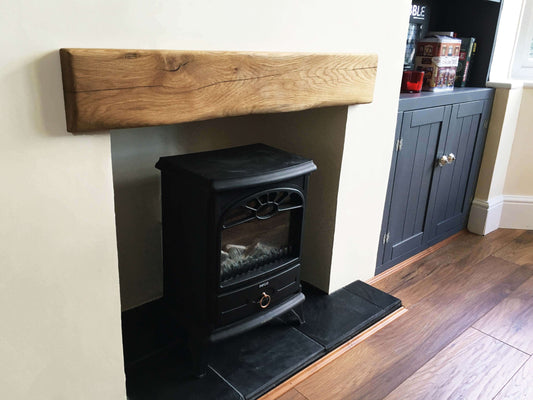
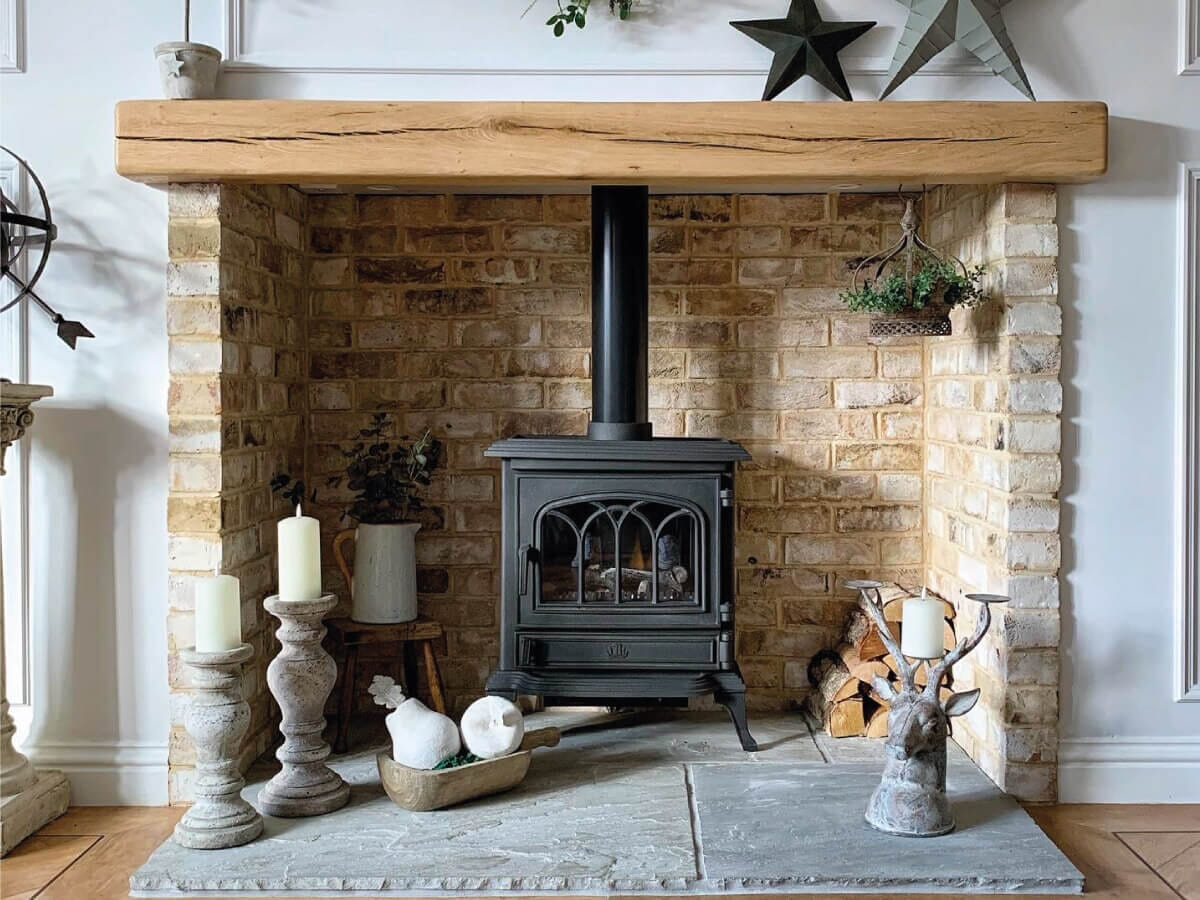
Installing an oak fireplace surround is one of the most rewarding stages of a fireplace renovation. Once fitted, it becomes the focal point of the room, bringing warmth, character and craftsmanship together to frame your chosen fire or stove.
While fitting a surround is often more straightforward than people expect, every fireplace is different. Wall construction, the type of fire you're installing and the fixing method supplied with your surround can all influence the installation process. That's why every Traditional Beams fireplace surround is supplied with its own installation guide, tailored to the fixing method provided.
This guide is designed to help you prepare for installation, understand what to expect and make sure everything is ready before you begin.
Before You Start
A little preparation before installation can make the whole process smoother and help achieve a cleaner finished result!
Before fitting your oak fireplace surround, it's worth checking that:
- The fireplace opening has been completed and measured correctly.
- The hearth has been installed or its final position confirmed.
- Any plastering or decorating around the chimney breast has been completed.
- The surround has been unpacked and checked for any transit damage.
- You have the correct installation guide for your fixing method.
Taking the time to complete these checks before you begin helps avoid unnecessary interruptions once the installation is underway.
TB Tip: Lay the components of your oak fireplace surround on a clean, protected surface before installation. This gives you the opportunity to familiarise yourself with each section and helps prevent accidental damage to the timber while you're preparing the work area.
Every Installation Is Different

Unlike off-the-shelf products, every oak fireplace surround is installed within a unique space. Even two seemingly identical chimney breasts can have small variations in plasterwork, wall construction or dimensions that influence the fitting process.
For that reason, we always recommend following the installation guide supplied with your specific surround alongside this general advice.
Depending on the design you've chosen, your installation may involve different fixing methods or hardware. These are selected to suit the surround and the way it's intended to be fitted, ensuring a secure installation and the best possible finished appearance.
Good to Know: Our installation guides provide step-by-step instructions for the fixing method supplied with your fireplace surround. If you're unsure which guide applies to your order, our team will be happy to point you in the right direction before installation begins.
Understanding Your Fixings
Not every oak fireplace surround is fitted in exactly the same way, which is why Traditional Beams provides installation guidance specific to the fixings supplied with your order.
Depending on your surround, you may receive one of the following fixing methods:
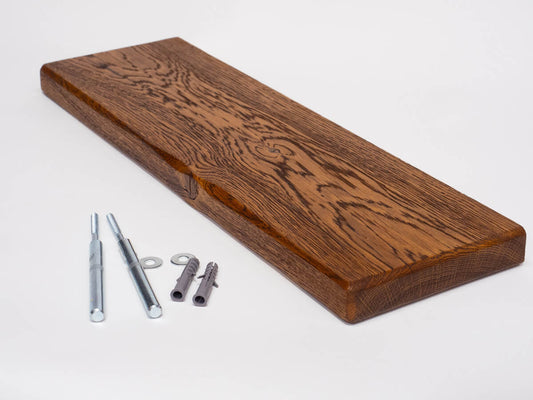
12 mm concealed brackets – commonly supplied with larger oak beams and shelves, creating a clean, floating appearance once installed.
Keyhole fixings – used on selected oak products, allowing the surround or beam to hang securely from pre-positioned fixings.
Heavy-duty threaded rods – recommended for larger, heavier oak sections where additional support is required.
Plasterboard fixings – suitable for installations where the surrounding wall construction requires specialist fixings.
Steel bracket fixings – supplied with selected timber products where visible brackets form part of the finished design.
Rather than trying to apply one installation method to every product, we recommend referring to the guide supplied with your order for the exact fixing process.
Before you Begin:
- Check your installation guide.
- Confirm you have the correct fixings.
- Protect the oak during handling.
- Make sure the work area is clean and level.
- Ask for advice if anything is unclear before installation starts.
Preparing the Installation Area

Once you've checked your measurements and have the correct installation guide to hand, it's worth spending a few minutes preparing the area around your fireplace. A clear workspace makes installation easier and helps protect both the surround and the surrounding décor.
Before fitting your oak fireplace surround, we recommend:
- Removing any furniture or decorative items close to the fireplace.
- Protecting the hearth and flooring with dust sheets or protective coverings.
- Checking the wall surface is clean, dry and free from loose plaster or debris.
- Making sure you have enough space to safely unpack and position each component.
- Reading through the installation guide before you begin, rather than referring to it step by step.
Taking these simple precautions can help prevent accidental damage and make the installation process much more straightforward.
TB Tip: Oak is a natural material, so avoid resting components directly on hard flooring while preparing the installation. A clean blanket or dust sheet provides a simple layer of protection while you work.
Positioning Your Oak Fireplace Surround

Before permanently securing the surround, it's always worth carrying out a dry fit.
Positioning the surround first allows you to check that everything looks balanced and gives you the opportunity to make small adjustments before any fixings are installed.
Pay particular attention to:
- The mantel sitting level across the fireplace opening.
- Even spacing on both sides of the chimney breast.
- How the surround aligns with the hearth below.
- Clearances around your chosen fire or stove.
- Any existing skirting boards, trims or uneven plasterwork.
This is also a good opportunity to step back and view the fireplace from different parts of the room. What looks perfectly centred from close up can sometimes benefit from a small adjustment when viewed from your usual seating position.
From the Workshop: Before fixing anything permanently, we always recommend standing back and looking at the surround from across the room. It's surprising how much easier it is to spot a small adjustment before the installation is complete.
Achieving a Professional Finish
Installing the fire surround is only part of the job. The finishing touches are what help it look like a permanent feature of your home rather than a recent addition.
Small details can make a significant difference, including:
- Making sure the surround sits neatly against the wall.
- Touching up any decorating around the installation, if required.
- Cleaning away dust before the fireplace is put into use.
- Checking that all components feel secure once installation is complete.
Many homeowners also choose this stage of the project to complete the wider fireplace area, whether that's decorating the chimney breast, fitting a new hearth or adding complementary oak features elsewhere in the room.
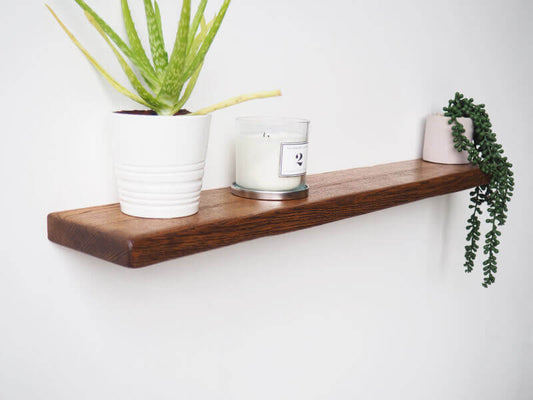
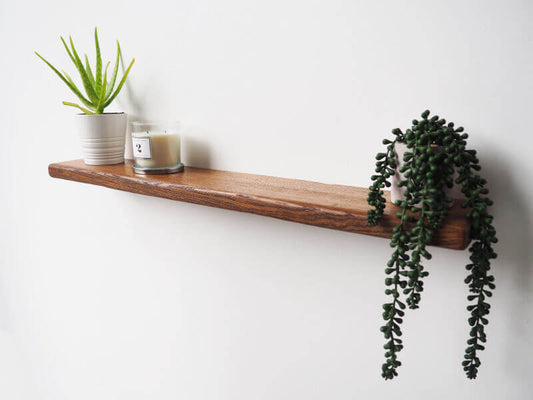
For example, pairing your new surround with oak floating shelves or oak window beams can help create a more cohesive look, particularly in open-plan living spaces where timber details are repeated throughout the home.
Looking After Your Oak Fireplace Surround

Once installed, an oak fireplace surround requires very little maintenance. To keep it looking its best:
- Dust regularly using a soft, dry cloth.
- Avoid harsh chemical cleaners or abrasive products.
- Wipe away spills promptly to help protect the finish.
- Keep excessive moisture away from the timber wherever possible.
As a natural material, oak may continue to develop subtle character over time, including small surface changes that contribute to its authentic appearance. This is completely normal and part of what makes every oak fireplace surround unique.
Good to Know: If you ever have a question about caring for your oak fireplace surround, or you're planning additional oak features elsewhere in your home, our team is always happy to offer advice - just get in touch.
Ready to Complete Your Fireplace?
Installing your oak fireplace surround is one of the final steps in creating a fireplace that feels complete. With the right preparation, accurate measurements and the correct installation guide, the process is often more straightforward than many homeowners expect.
Explore our collection of oak fireplace surrounds to find the perfect style for your home, or get in touch if you'd like advice before installation. Many customers also choose to complete their room with matching oak shelves, oak floating shelves and oak window beams, creating a consistent look that ties the whole space together.
If you have any questions about your project, your fixings or your installation guide, we're always here to help. Simply get in touch and we'll make sure you have the information you need before getting started.