
How to Prepare for Oak Flooring Installation
You've chosen the oak flooring, ordered the right amount and you're ready to see it in the room. Before the first board goes down, however, there are a few things worth getting right.
Real wood flooring needs the right conditions underneath it and around it. Your subfloor needs to be suitable, other building work should be finished and the oak needs time to acclimatise before installation. Whether you're fitting the floor yourself or bringing in a professional, a little preparation now can prevent much bigger problems later.
Before Your Flooring Arrives

The best time to start preparing isn't the morning installation begins.
If your oak flooring is part of a wider renovation, think about where it sits within the order of work. Wet trades such as plastering should have had time to dry. Decorating and other work that could introduce excess moisture should be sufficiently complete. The room needs to be enclosed, dry and approaching the normal conditions it will have once you're living in it.
It's also worth confirming exactly what you've ordered.
Check:
- The flooring product and finish.
- The total quantity ordered.
- The board dimensions and thickness.
- Whether it is solid or engineered oak flooring.
- The intended installation method.
- Any adhesive, underlay or other materials required.
- Whether the floor is suitable for your particular subfloor.
- Underfloor heating compatibility, if relevant.
If a professional is installing your floor, we'd recommend involving them before the flooring arrives rather than waiting until fitting day to discuss the details.
Get the Rest of the Room Ready

Oak flooring shouldn't become a workbench for the rest of your renovation.
Where possible, complete messy or moisture-producing jobs before the finished timber floor is installed.
That could include:
- Plastering.
- Major decorating work.
- Plumbing work.
- Structural alterations.
- Screeding.
- Other work likely to introduce significant dust, dirt or moisture.
This doesn't mean every last light fitting has to be in place. The aim is simply to avoid laying a finished timber floor and then subjecting it unnecessarily to the messiest stages of the project.
Project Planning: Think of the flooring as one of the later finishes in the room rather than the surface everything else gets completed on top of.
Know What Your Subfloor Is

Before choosing an installation method, you need to know what's underneath the oak. The subfloor could be concrete, screed, existing timber, plywood or a joisted construction. Different situations may require different preparation and fitting methods.
The important thing is not to assume that because the existing floor looks reasonably flat, it's ready for new oak flooring.
A suitable subfloor generally needs to be:
Level: Significant dips, raised areas or uneven sections can cause problems once flooring is installed.
Dry: Excess moisture beneath real wood flooring can cause serious issues. New screeds and other wet construction materials need adequate drying time and should be checked appropriately.
Clean: Dust, debris, old adhesive and loose material can interfere with installation.
Sound: Loose boards, movement or an unstable base should be addressed before the oak goes down.
If you're unsure whether the existing floor is suitable, this is a good point to get your installer involved.
Installing Oak Flooring Over Joists

Some projects involve fitting timber flooring directly over joists rather than onto a continuous subfloor and board thickness becomes particularly important here.
Our general guidance is that timber flooring installed over joists should be at least 18mm thick, but the suitability of a particular floor still needs to be checked against the individual product, joist spacing and installation requirements.
Don't assume every oak floor in the collection can simply be laid in the same way. If your project involves joists, tell us or your installer how the floor is constructed before ordering.
Check for Moisture Before Installation

Moisture is one of the areas where it's worth being cautious rather than optimistic.
A screed might look dry on the surface while still holding moisture deeper within it. Newly plastered rooms can also contain much more moisture than you'd expect. Simply leaving a room for a few days isn't a reliable way to determine whether the conditions are suitable.
Where necessary, the subfloor and room conditions should be properly assessed before installation. Your flooring installer can advise on the appropriate checks for your particular project.
This matters because oak naturally responds to moisture and installing timber into unsuitable conditions can contribute to excessive expansion, contraction, movement or other problems later.
Give Your Oak Flooring Time to Acclimatise
When the flooring arrives, resist the temptation to start laying it immediately.
Oak needs an opportunity to adjust to the environment where it will be installed. Our general guidance is to allow the flooring to acclimatise for at least 48 hours before fitting, while following any specific instructions supplied with the individual product.
Keep it in the room where it will be installed under suitable conditions. The purpose isn't simply to leave the boxes sitting in the house for two days. You're allowing the timber to adjust to the room's temperature and humidity before it is fixed into position.
Don't Acclimatise Flooring in the Wrong Conditions
If the room is still damp from fresh plaster, unusually cold because the heating isn't operating normally or effectively still a building site, those aren't necessarily the conditions the floor will experience once the project is complete.
Get the room ready first, then bring the oak in to acclimatise.
Check Your Flooring Before Installation Starts

Once the oak has arrived, take the time to check it before fitting begins.
Start with the practical details. Make sure you've received the correct flooring, quantity and finish, and look for any obvious transit damage. Then remember that you're looking at a natural timber product.
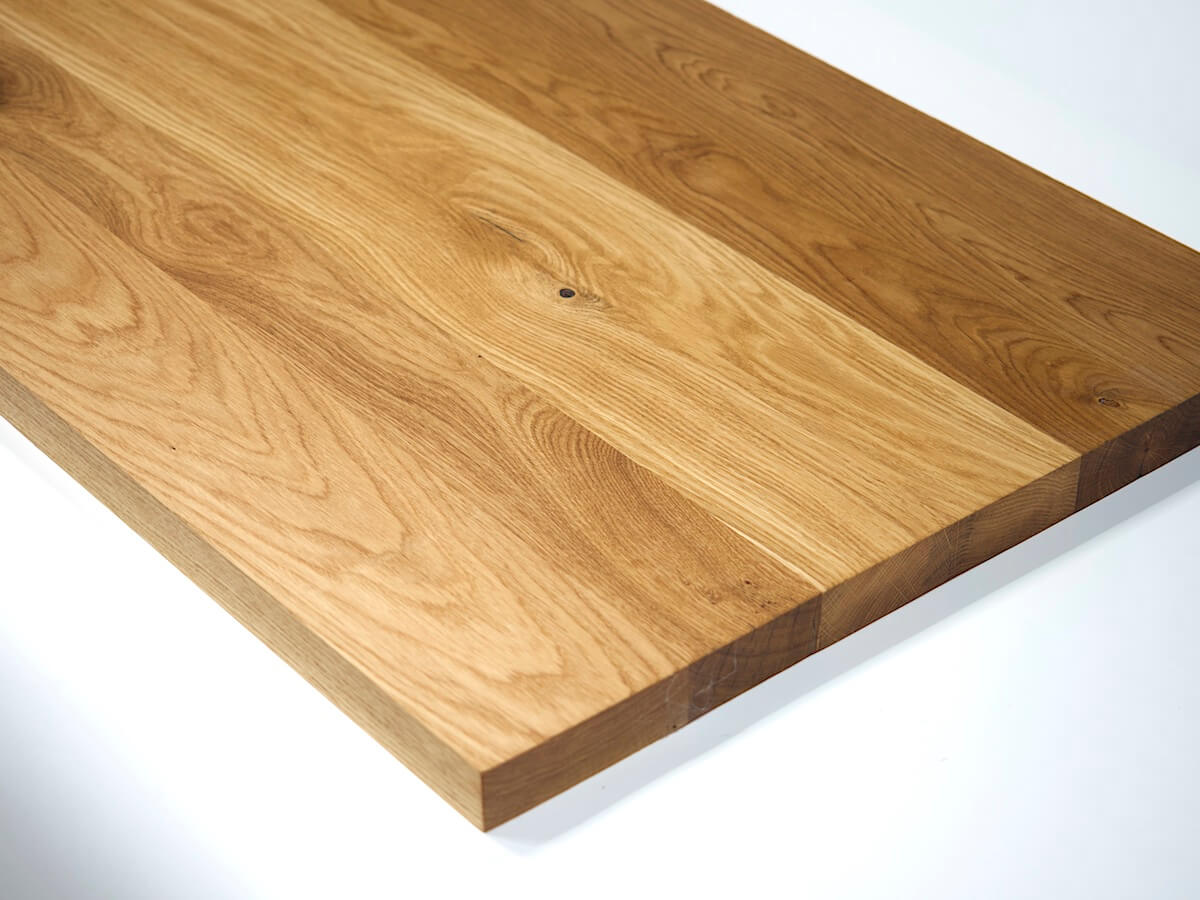
Oak floor boards will show differences in grain, knots and tone. Depending on the grade you've chosen, those variations may be subtle or much more noticeable. They aren't something you necessarily want to discover one board at a time as the floor is being laid.
Looking across the boards beforehand also gives you the opportunity to think about how that natural variation will be distributed across the room. Rather than grouping several very similar or highly characterful boards together by accident, boards can be selected from different packs as the floor progresses to create a more balanced overall appearance.
Good to Know: A flooring sample shows you the general colour, finish and character of a product. It isn't a promise that every full-size board will look identical. Natural variation is part of choosing real oak.
Plan the Layout Before the First Board Goes Down

It's much easier to change the layout while the flooring is still loose.
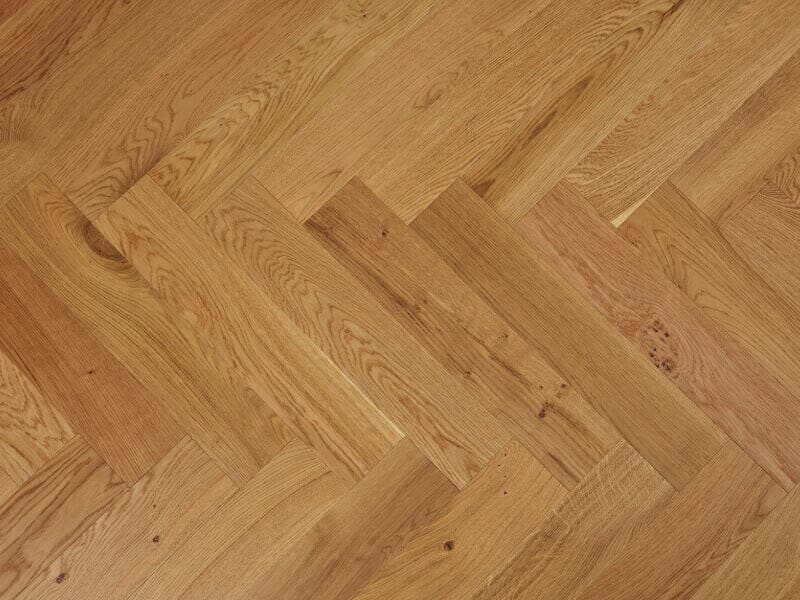
For straight oak floorboards, consider the direction the boards will run and how they'll meet doorways, adjoining rooms and other flooring. For herringbone, planning becomes even more important. The position and alignment of the pattern can have a big influence on how the finished floor looks, particularly through doorways or across larger open-plan spaces.
Take a moment to consider:
- The main entrance and sightline into the room.
- The direction of natural light.
- Doorways and transitions.
- Fireplaces, kitchen islands and other fixed features.
- How the flooring continues into adjoining spaces.
- Where cuts are likely to fall around the edges of the room.
- The starting point for a herringbone pattern.
This is also the stage to check how the finished floor height will work with doors, thresholds and neighbouring surfaces. A few millimetres might not sound important until a door no longer opens properly!
Don't Forget Expansion
Because oak responds to changes in its environment, it needs room for natural movement. Appropriate expansion provision should be included around the perimeter and other fixed points as required by the flooring and installation method.
The exact requirements can depend on the product, room dimensions and installation, so follow the guidance for your flooring rather than relying on a single measurement for every project. Skirting boards or suitable finishing details can usually conceal the perimeter allowance once installation is complete.
The important thing is that the timber isn't fitted tightly against every fixed surface with nowhere to move.
Preparing for Oak Flooring Over Underfloor Heating

Underfloor heating needs to be considered before installation, not once the oak is already down.
First, make sure the flooring you've selected is suitable for use with your heating system. Engineered oak is often considered for these projects because its layered construction offers greater dimensional stability, but engineered oak flooring isn't automatically suitable for every underfloor heating installation.
Check the individual flooring specification. Your heating system may also have specific requirements for commissioning, subfloor preparation, temperature and how it should be operated before and after fitting.
Avoid sudden temperature changes. Real wood responds much better to controlled conditions than a heating system being switched straight to a high temperature.
If you're using an installer, make sure they know underfloor heating is present before work begins.
Have You Ordered Enough Flooring?

Hopefully this was sorted before your oak flooring arrived, but it's worth checking before installation day. We generally recommend allowing around 10% extra when calculating how much oak flooring you need. This gives room for cuts and normal installation wastage rather than leaving you dependent on every single board fitting perfectly.
For example:
Room area: 24m²
10% allowance: 2.4m²
Approximate flooring required: 26.4m²
More complicated room shapes or patterned floors such as herringbone may require different allowances, so confirm quantities with your installer where necessary.
Having a little suitable flooring left after the project can also be useful if a board ever needs replacing in the future.
What Should Be Ready for Installation Day?

By this point, the aim is to remove as many surprises as possible.
Your Pre-Installation Checklist
Before fitting starts, check that:
- The correct oak flooring has arrived.
- You have enough flooring for the project and expected wastage.
- The boards have been checked for obvious damage.
- Natural variation has been considered when planning the layout.
- The room is dry and major wet trades are complete.
- The subfloor is level, clean, dry and sound.
- Any required moisture checks have been carried out.
- The flooring has been given sufficient time to acclimatise.
- The installation method has been confirmed.
- The board direction or herringbone layout has been planned.
- Finished floor heights, doors and thresholds have been considered.
- Appropriate expansion provision has been allowed for.
- Underfloor heating requirements have been checked where relevant.
- The necessary adhesive, underlay, fixings or other installation materials are ready.
If you're using a professional fitter, this is also a good opportunity to run through any final questions before installation begins.
What Happens After the Floor Is Installed?
Once the oak is down, follow the guidance for the particular flooring and installation method before putting the room straight back into full use.
For example, an adhesive installation may require appropriate curing time before heavy furniture is moved back into position. Any finishing work should also be completed as instructed. If you've chosen unfinished solid oak flooring, remember that the installation isn't necessarily the end of the project. The timber will need the appropriate finishing treatment before normal use.
After that, looking after the floor is relatively straightforward. Regularly removing grit, dealing with spills promptly and maintaining the particular surface finish will help keep it looking good.
We've covered that side of ownership in our guide to living with and looking after oak flooring.
Good Preparation Makes Installation Easier

The exciting part of a flooring project is seeing the finished oak across the room. The preparation underneath it isn't quite as photogenic, but it's just as important.
Get the room into the right condition, understand your subfloor, allow the timber to acclimatise and work out the layout before fitting begins.
If you're still choosing your floor, our oak flooring collection includes solid and engineered European oak, classic straight boards and herringbone designs in a wide range of finishes. You can also order samples before making your decision.
And if you're unsure whether a particular floor is suitable for your subfloor, underfloor heating or wider project, speak to the Traditional Beams team before ordering. It's much easier to answer those questions while you're planning than on installation day.