
How to Install Floating Shelves
Installing floating shelves is a straightforward DIY job when you have the right fixings and tools. The most important part is making sure the brackets are suitable for your wall, positioned accurately and securely fitted before you add the shelf.
Whether you're fitting solid oak floating shelves in a living room, kitchen or bathroom, the basic process involves measuring, drilling, installing the concealed supports and checking everything is level.
Below, we'll explain how to install floating shelves using our concealed fixing systems, including the different methods for solid walls and plasterboard.
Do Floating Shelves Need Brackets?

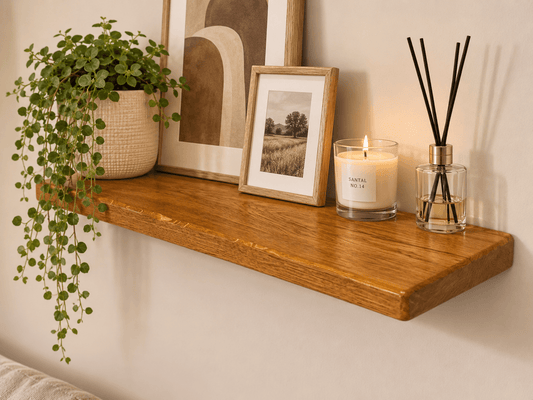
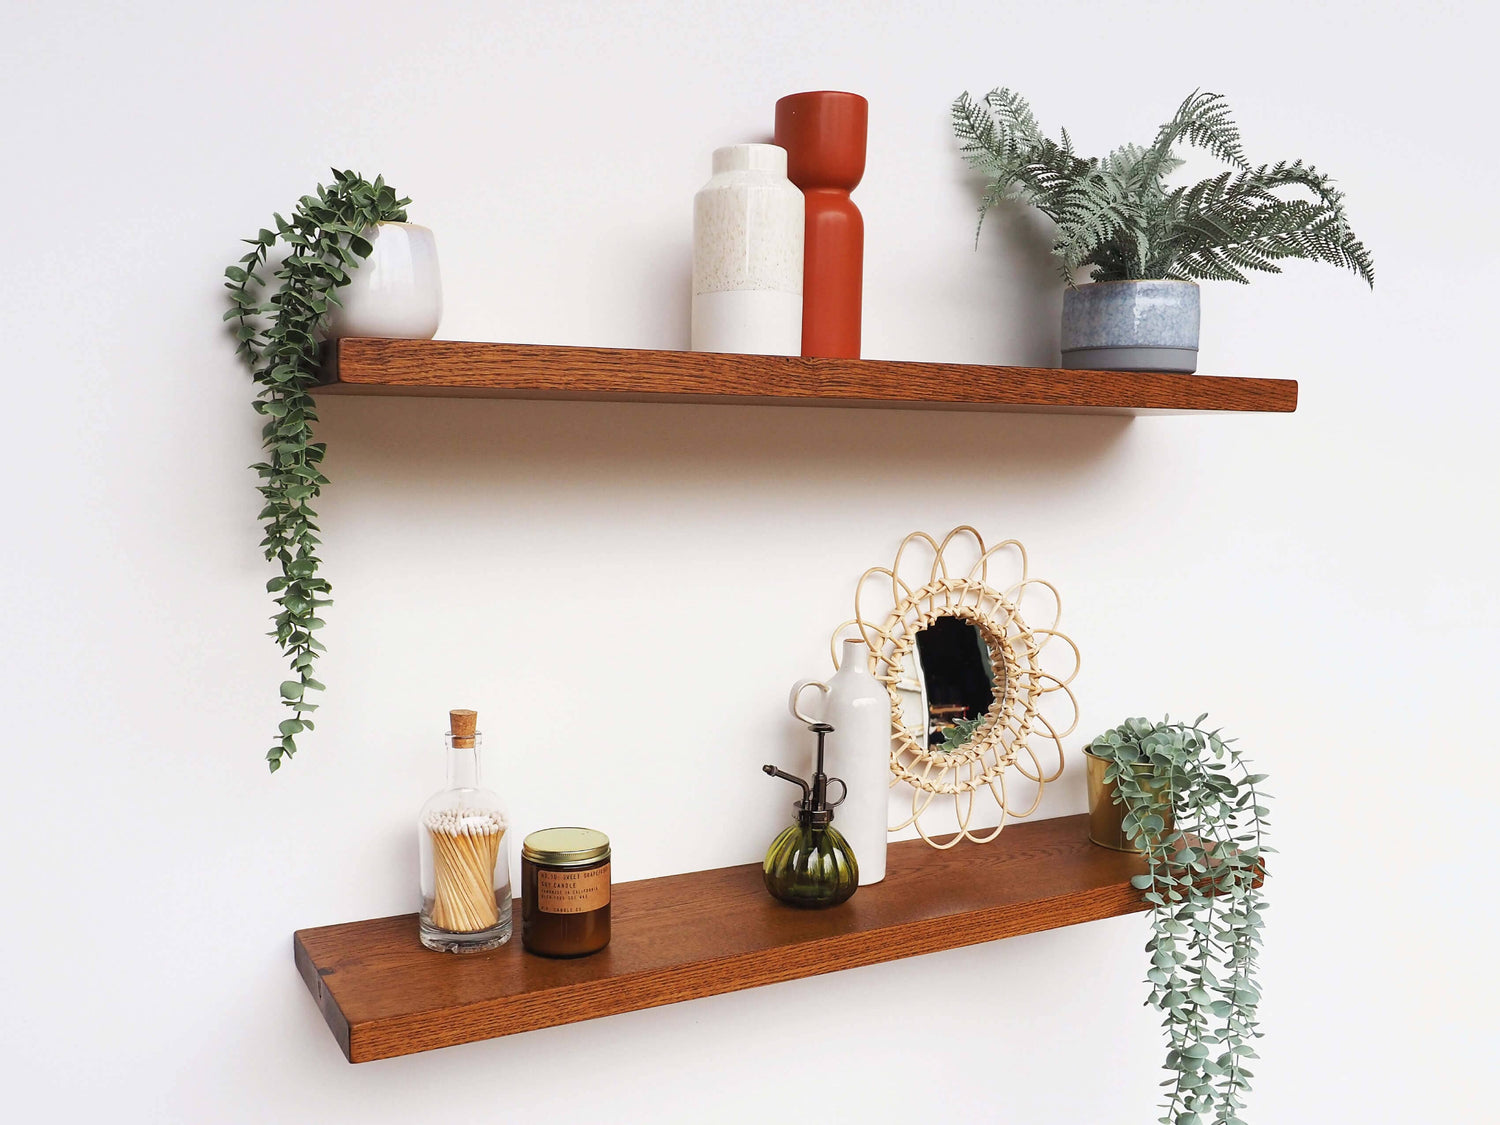
Floating shelves need a secure support system, even though the brackets aren't visible once they're installed. Unlike traditional wall shelves with exposed brackets underneath, floating shelves use concealed fixings that sit inside pre-drilled holes at the back of the timber.
The type of fixing you need depends on the shelf and the wall you're attaching it to. We supply two main concealed fixing options for its solid oak floating shelves:
12mm Concealed Brackets: Manufactured by Hafele and suitable for masonry walls or stud walls where the brackets can be secured into timber. These are not suitable for fixing solely into plasterboard.
Plasterboard Fixings: A dedicated system combining Hafele adjustable concealed supports with Gripit plasterboard anchors, designed for suitable plasterboard installations.
Both systems allow the shelf to sit flush against the wall without visible brackets underneath.
What Do You Need to Install Floating Shelves?
Before starting, gather your tools and check which fixing kit has been supplied with your shelf.
|
Tool |
What it's used for |
|
Tape Measure and Pencil |
Measuring and marking fixing positions |
|
Spirit Level |
Keeping brackets and shelves level |
|
Drill |
Preparing holes for the fixings |
|
10mm Drill Bit |
Installing 12mm concealed brackets into suitable solid walls or timber studs |
|
20mm Spade Bit |
Installing Gripit plasterboard anchors |
|
10mm Spanner |
Installing and adjusting concealed brackets |
|
Hammer |
Gently tapping wall plugs or anchors into position |
|
Screwdrivers |
Installing and securing plasterboard fixings |
Important things to remember:
- You may also need silicone or grab adhesive,to help prevent the shelf from becoming loose.
- The tools required will vary slightly depending on your chosen fixing system.
- Before drilling, check the wall for concealed pipes and electrical cables using a suitable detector, and make sure the fixing positions are appropriate for the wall construction.
How to Install Floating Shelves on a Solid Wall

Traditional Beams' standard 12mm concealed brackets are designed for masonry walls or stud walls where the fixings can be secured into timber. They are supplied with our applicable solid oak floating shelves measuring 11cm (4.25 inches) deep or more.
The brackets can support up to 35kg across two fixings, including the weight of the shelf, subject to a suitable installation.
Here's how to fit them.
Step 1: Measure and Mark Your Shelf Position
Decide where you want the shelf to sit and use a spirit level to draw a horizontal line on the wall, matching the length of your shelf. Next, measure from each end of the shelf to the centre of its pre-drilled fixing holes. Transfer these measurements onto your horizontal line.
Check the measurements and level before drilling.
Step 2: Drill the Fixing Holes
Using the marked positions, drill holes at least 60mm deep to accommodate the supplied wall plugs.
You'll need:
- Masonry Wall: A 10mm masonry drill bit.
- Timber Stud Wall: A 10mm wood drill bit, with the fixing method appropriate to the timber construction.
Make sure the holes are correctly positioned and deep enough for the specified fixings.
Step 3: Insert the Wall Plugs and Brackets
Insert the supplied wall plugs into the prepared holes, gently tapping them flush with the wall using a hammer. Using a 10mm spanner, screw the concealed brackets into position. We recommend using the supplied washers, as these help increase the load capacity of the fixing system.
Step 4: Position the Oak Shelf
Carefully slide the shelf onto the concealed brackets, stopping when it's approximately three-quarters of the way towards the wall. Leaving this small gap gives you enough room to access the brackets with a spanner and make any necessary adjustments.
Avoid forcing the shelf fully into position at this stage.
Step 5: Adjust the Brackets Until the Shelf Is Level
Place your spirit level on top of the shelf and check its position. The 12mm concealed brackets have a slightly off-centre threaded section, allowing you to make small levelling adjustments using a 10mm spanner.
Adjust the brackets as needed until the shelf sits level. This is one of the advantages of the concealed fixing system, as minor corrections can be made without drilling new holes.
Step 6: Secure the Shelf Against the Wall
Once you're happy with the position, slide the shelf fully onto the brackets until it sits flush against the wall. The pre-drilled holes are designed to fit closely around the supports, so you should expect a snug fit.
For additional security, we recommend applying a small amount of silicone or grab adhesive inside the fixing holes to help prevent the shelf from working loose.
Finally, check that the shelf is level and firmly supported before placing anything on it.
TB Tip: Take your time when marking the fixing positions. Measuring directly from the pre-drilled holes in your shelf is more reliable than estimating where the brackets should sit. A few minutes spent checking measurements can save you from drilling unnecessary holes.
You can also follow our illustrated 12mm concealed bracket installation instructions for the full fitting sequence.
How to Install Floating Shelves on Plasterboard

Installing floating shelves on plasterboard requires a different fixing system from solid masonry. Standard 12mm concealed brackets aren't suitable for fixing solely into plasterboard, so it's important to use supports designed for this type of wall.
Our plasterboard fixing kit combines adjustable Hafele concealed shelf supports with Gripit anchors. The anchors open behind the plasterboard to distribute the load, while the supports remain hidden inside the shelf.
The system is suitable for plasterboard between 9mm and 15mm thick. On 15mm plasterboard, each fixing has an approximate capacity of 10kg, including the shelf's weight. This capacity decreases on thinner plasterboard.
Step 1: Mark the Shelf Position
Use a spirit level to draw a horizontal line where you want the shelf to sit. Measure from the ends of the shelf to the centres of the pre-drilled holes, then transfer these measurements onto the wall.
Hold the metal support brackets against your markings and mark the positions for the Gripit anchors, checking that everything is level.
Step 2: Drill and Fit the Gripit Anchors
After checking for hidden pipes, cables and other obstructions, use a 20mm spade bit to drill the required holes in the plasterboard. Insert the Gripit anchors and gently tap them flush with the wall using a hammer.
Using a flat-head screwdriver, turn the cam on each anchor to open its gripping wings behind the plasterboard.
Step 3: Attach the Concealed Supports
Position the Hafele concealed shelf supports over the installed anchors and loosely secure them using the supplied M6 bolts. Place a spirit level across the supports and check their alignment before fully tightening the bolts.
This is also the point to make any necessary adjustments, rather than waiting until the shelf is completely fitted.
Step 4: Fit and Level the Shelf
Carefully slide the oak shelf onto the concealed supports until it sits flush against the wall. The pre-drilled holes provide a close fit around the brackets, so the shelf may feel quite snug.
Check the shelf with your spirit level. If it isn't level, slide it back off and adjust the supports before refitting. We recommend a small amount of silicone or grab adhesive inside the fixing holes as an additional precaution against the shelf becoming loose.
For diagrams showing each stage, follow our plasterboard floating shelf installation instructions.
How to Make Sure Your Floating Shelves Are Level and Secure

Getting a floating shelf level is largely about accurate measurements and careful bracket positioning. Even a small difference between fixing heights can become noticeable once a long shelf is installed.
There are three points during installation where it's worth checking your work.
Before drilling: Use a spirit level to check the horizontal line and fixing positions. Don't assume the floor, ceiling or nearby furniture is perfectly level.
After fitting the brackets: Check their alignment before sliding the shelf into place. Both Traditional Beams concealed fixing systems allow minor adjustments, although the adjustment method differs.
Once the shelf is fitted: Check that it sits level from side to side and front to back, with the back edge flush against the wall. Make sure the brackets and fixings are secure before loading the shelf.
If you need to make adjustments, follow the instructions for your fixing system rather than forcing the shelf into position.
What Fixings Do You Need for Heavy Wooden Shelves?
Solid oak shelves can be relatively heavy before you add books, kitchenware or decorative items. Choosing the correct fixings is therefore an important part of planning the installation.
The appropriate system depends on the shelf's dimensions, its weight and the wall construction.
|
Wall or installation |
Recommended approach |
|
Solid Brick or Masonry |
Suitable concealed brackets installed into sound masonry |
|
Timber Stud Wall |
Concealed brackets secured into suitable structural timber |
|
Plasterboard Wall |
Dedicated plasterboard supports and anchors, where the wall meets the fixing requirements |
|
Larger or Heavier Shelves |
Check the manufacturer's fixing arrangement and load guidance, including whether additional supports are required |
Our 12mm concealed brackets have a capacity of up to 35kg across two fixings, including the shelf. Our plasterboard system provides approximately 20kg across two fixings when installed into suitable 15mm plasterboard, with a lower capacity on thinner boards.
These figures are guides rather than guaranteed capacities for every installation. The condition of the wall, shelf depth, weight distribution and quality of installation all affect how much weight can be supported.
Longer Traditional Beams shelves are supplied with additional fixings to accommodate their dimensions.
TB Tip: When calculating how much weight your shelf can hold, remember to include the weight of the oak itself. A shelf weighing 8kg, for example, already accounts for 8kg of the stated fixing capacity before anything is placed on top.
Before You Start Using Your New Floating Shelves

Once the installation is complete, there are just a few final things to check:
- Alignment: The shelf sits level and flush against the wall.
- Fixings: All brackets, anchors and bolts are securely installed.
- Stability: The shelf remains firmly supported without noticeable movement.
- Loading: The intended contents are within the appropriate capacity for the shelf and installation.
If anything doesn't feel secure, address it before adding weight.
For more advice on existing installations, including shelves that have started to sag or become loose, see our guide to common floating shelf problems and how to fix them.
Explore Solid Oak Floating Shelves at Traditional Beams
Our solid oak floating shelves are handcrafted from European oak and available in a choice of sizes and finishes, with concealed fixing options to suit different installations. Explore our wider collection of oak shelves to find the right style for your space, and follow the supplied fitting instructions to achieve a secure, professional-looking finish.