How To Install A Floating Shelf - 8 Simple Steps
Share
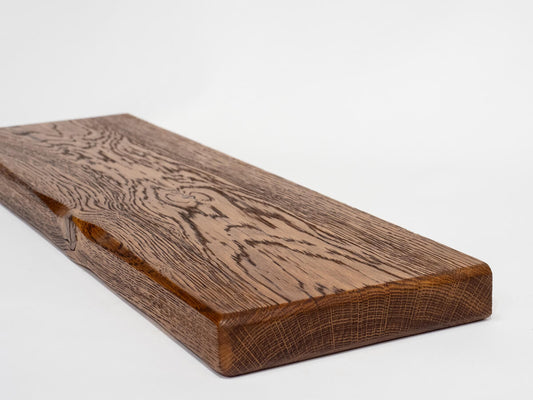
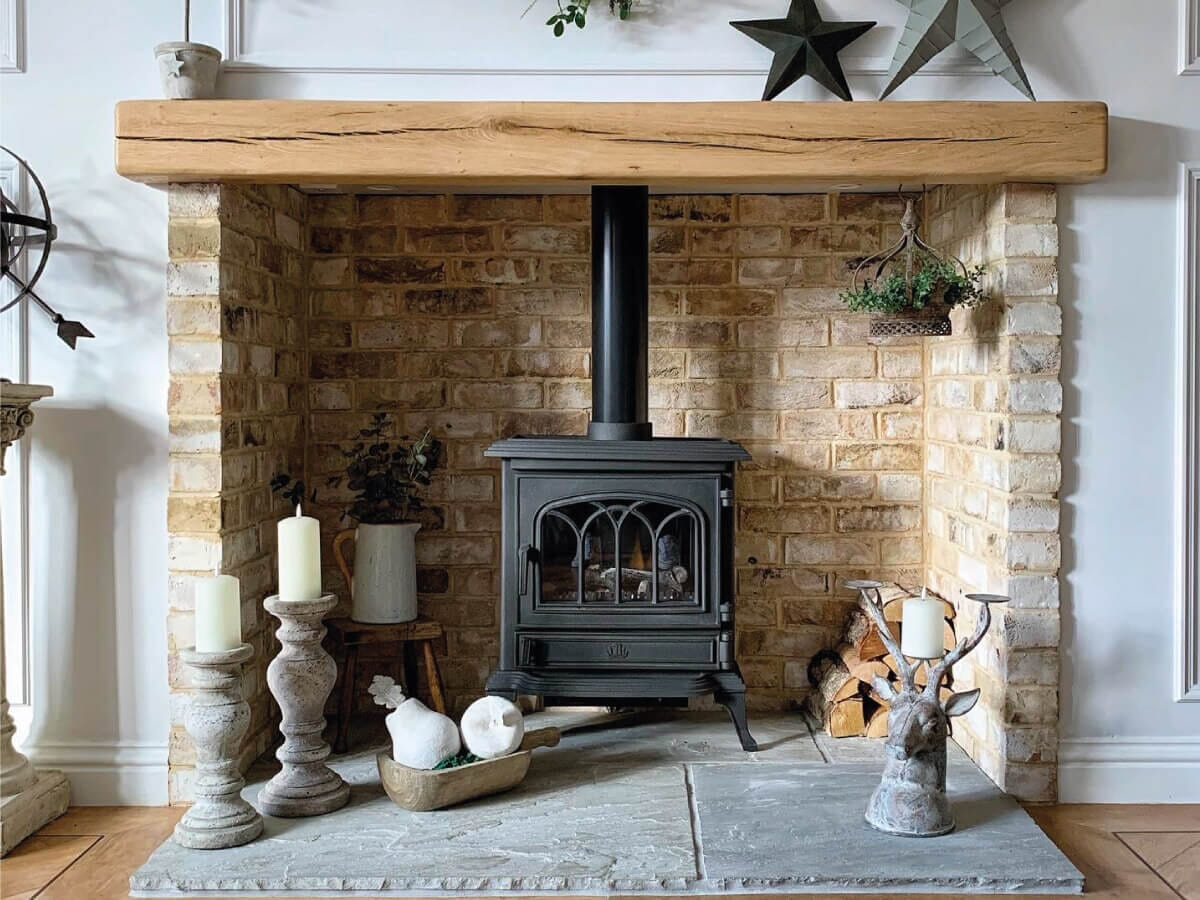
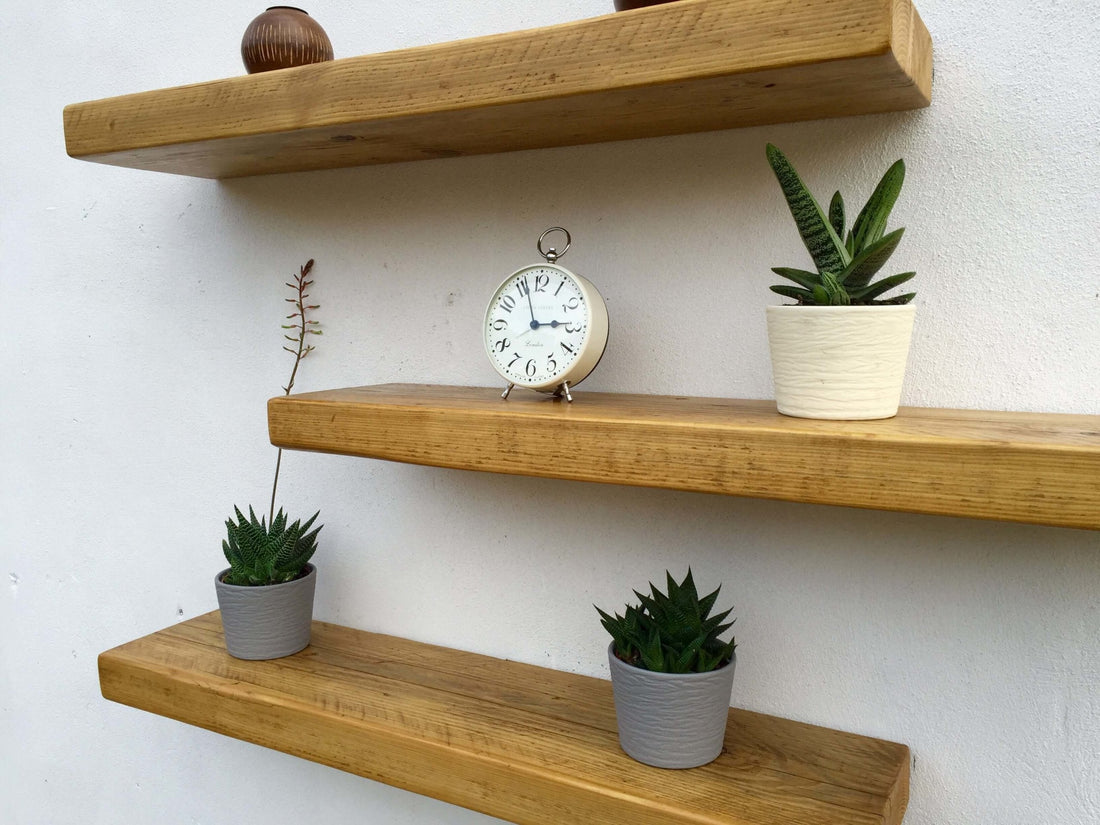
Although fitting instructions are provided with each floating shelf we have decided to give a detailed description on how to install a floating shelf. This is also a useful read for potential customers in helping you decide whether or not a floating shelf is suitable for your intended space.
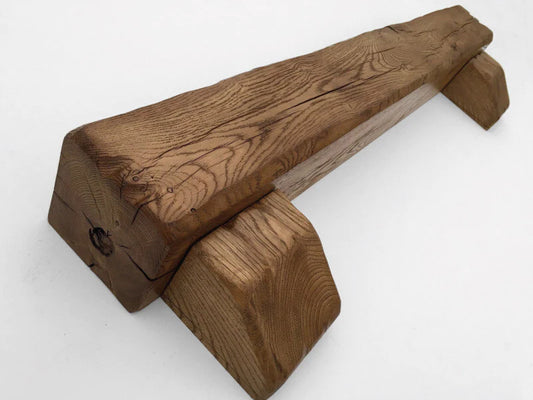
Floating shelves are supplied with high quality zinc plated Hafele concealed shelf supports, they’re by far the most versatile on the market. They can hold up to 35kg of weight between two brackets including the weight of the shelf. Shelves up to 1.2m are supplied with two brackets, 3 up to 1.7m and 4 up to 2.2m. They are suitable for fixing to stone, brick, breeze block and plasterboard walls where timber studs can be located. Unfortunately they are not suitable for fixing to plasterboard alone.
Before you start drilling holes in your wall we recommend using a pipe / cable detector to ensure there are no electrical cables or water pipes where you intend to drill.
The tools you need are:
• Hammer drill & 10mm drill bit
• Spirit level
• Pencil
• 10mm spanner
• Tape measure
• Adhesive or silicone (optional)
Fitting Instructions
1. Using a spirit level draw a straight line on your wall where you intend the shelf to hang. Draw the line the same width as the shelf.
2. Measure from the centre of the pre-drilled holes on the shelf / beam to the end. Measure the same distance from the end of the line on your wall, mark these points.
3. Using a 10mm drill bit, drill holes in your wall deep enough to accept the rawl plugs. Make sure you drill right on the mark whilst keeping the drill level.
4. Put the rawl plugs into the holes you’ve just drilled. They should be flush with your wall.
5. Using a 10mm spanner, screw the fixings into the wall. Don’t tighten all the way. The washers are optional and increase the load capacity of the shelf, however they will leave a small 1.5mm gap behind your shelf. We highly recommend using the washers.
6. Gently slide the shelf onto the brackets ¾ of the way on so that you can still fit a 10mm spanner behind the shelf.
7. Place a spirit level on the shelf and adjust the fixings with the 10mm spanner until the shelf is perfectly level. The steel rod section of the bracket is positioned off centre to the screw section enabling you to adjust the position of each bracket.
8. Although not absolutely necessary, adhesive or silicone can be applied into the holes in the shelf before finally sliding the shelf back onto the brackets. This will prevent the shelf being pulled off the wall or tilting forward in the future.