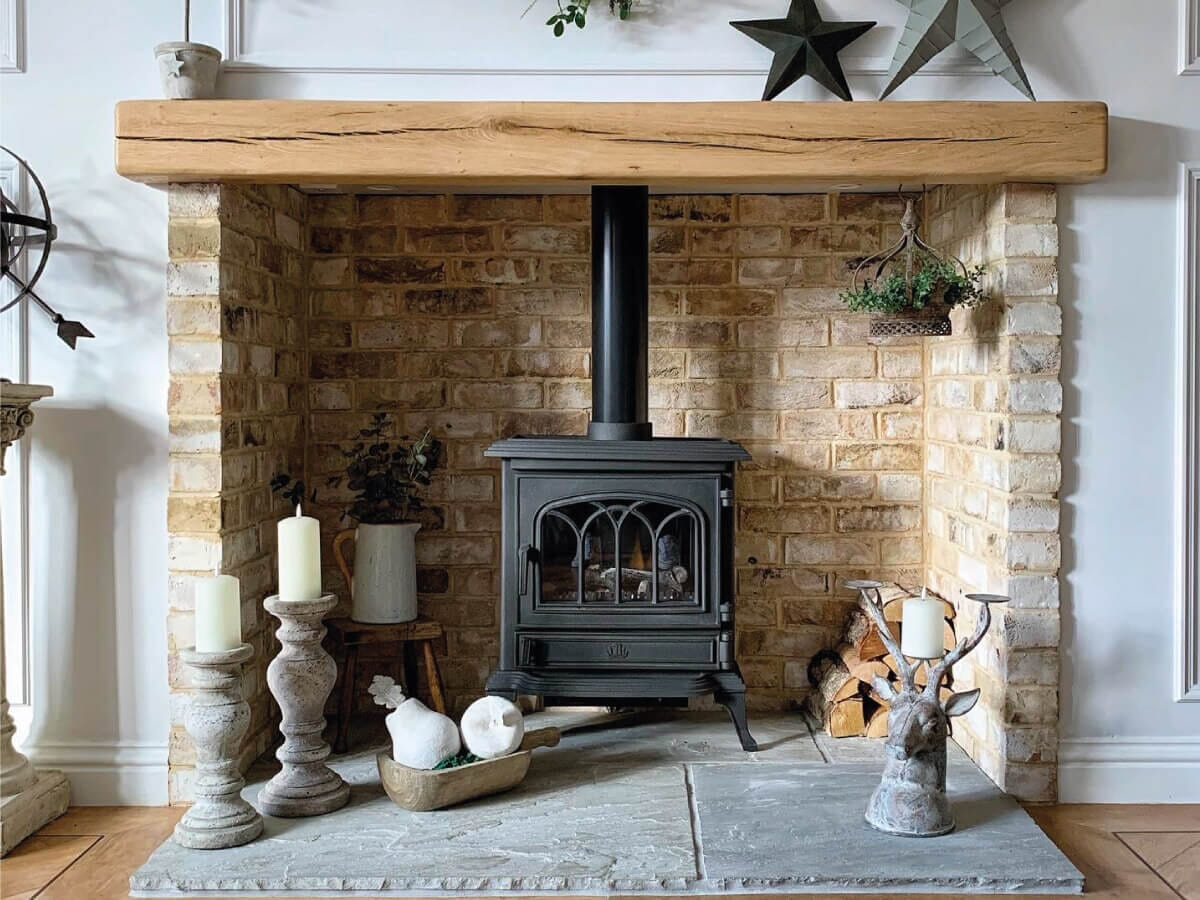
Install Your Fireplace Beam In Record Time With These Tips
Share
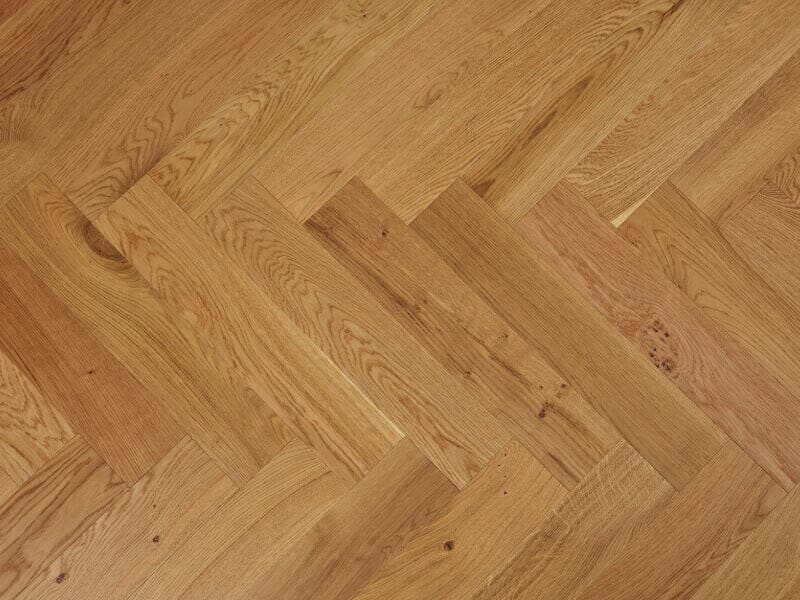
If you don’t know the difference between a nut and a bolt, and hearing the word ‘screwdriver’ makes you nervous, installing an oak fireplace beam can seem a little daunting.
But fear not. With our tips, you’ll learn how to install a mantel shelf in a few easy steps.
NB: This article is written to help install oak beams supplied with standard 12mm concealed brackets. Our full installation guides for this and other methods of fixing your beam can be found in the ‘Installation’ section on the beam’s product page.
How to Install a Fireplace Beam
Here, we cover the whole installation process for fixing your oak beam securely to your fireplace.
Tools needed
There’s nothing more frustrating than starting a job only to realise that you haven’t got a vital piece of equipment to complete it. Don’t worry, there’s no specialist equipment involved. Altogether, you’ll need:
- Measuring tape
- Spirit level
- Pencil
- Drill
- Appropriate drill bits (wall type dependent)
- Hammer
1. Make Your Markings
While you may already have a good idea of where your fireplace beam is going to be installed, it can’t hurt to be precise.
With the dimensions of your oak beam in mind, mark out a straight horizontal line on your wall using a spirit level. The larger the spirit level, the better.
As part of the installation, you will need to measure the distance from the end of your beam to the hole centres and transfer these measurements onto your wall.
2. Drill the Holes
With your markings made, now comes the time to drill into your wall.
Before drilling, make sure you double-check your measurements and ensure that your oak beam is as level as possible. While you can make minor adjustments before fixing the beam in place, it’s better to have it installed as straight as possible.
Yes, holes can be covered up with a little filler if you drill in the wrong place. But double-checking everything now can save lots of frustration in the future. You don’t want to put your beam up, sit down to enjoy your cup of tea, and then realise that your beam isn’t quite straight.
3. Install the Wall Plugs/Mounting Points
As mentioned above, different beams can be supplied with different fixings depending on the wall type and the design of the beam itself. So, this step may vary depending on the beam you choose.
The rationale for inserting the mounting points into your wall is the same, though. If your beam comes with wall plugs, for example, put them into the wall. Or, if your beam has a mounting bracket, install this now.
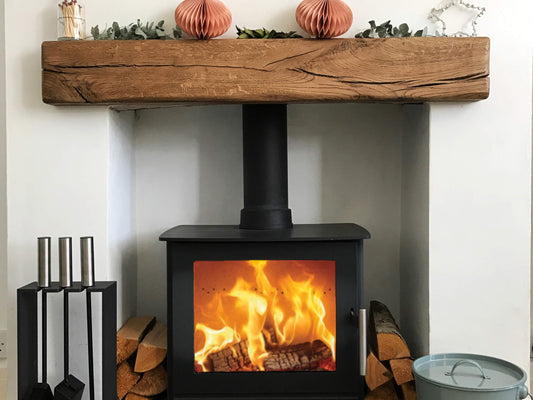
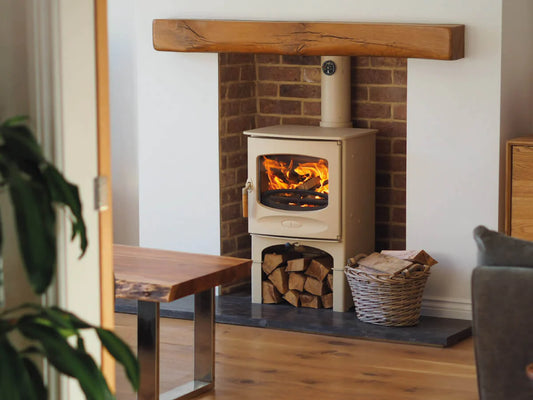
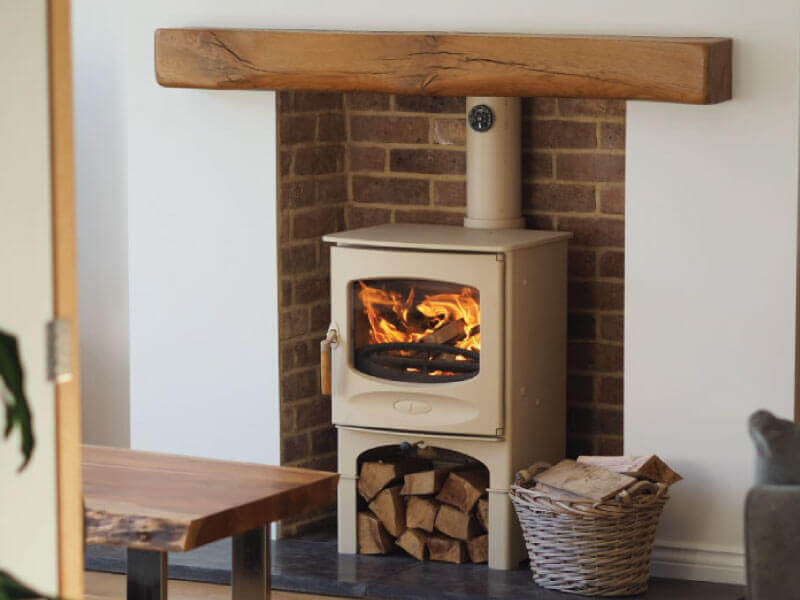
4. Install the Oak Beam
Now that your fixtures and fittings are in place, you can lift the oak beam into place.
Our beams are solid oak and therefore very heavy. While it technically is possible for one person to install a beam by themselves, it is recommended to have another person available to help with lifting.
If you are using the 12mm concealed fixings, you can double-check that everything is level by half pushing the beam onto the wall and placing your level on top. Then, using a spanner, turn the fixings behind the beam until it is level. Once you’re happy, you can add a dab of adhesive between the wall and the mantel as an extra precaution.
Installing your new oak mantel is simple…
With a little planning and the right tools, installing an oak fireplace beam isn’t as difficult as you may think.
Depending on the type of oak beam you order from us, how you install it may be slightly different. Full installation guides are available on our website.
Still unsure about how to install your oak beam? Don’t hesitate to get in touch if you need any advice. We’re more than happy to help!