Freddie Armstrong
Although fitting instructions are provided with each floating shelf we have decided to give a detailed description on how to install a floating shelf. This is also a useful read for potential customers in helping you decide whether or not a floating shelf is suitable for your intended space.
1. Using a spirit level draw a straight line on your wall where you intend the shelf to hang. Draw the line the same width as the shelf.


Are you in the midst of a home décor dilemma, trying to decide between the sleek simplicity of pine floating shelves and the charming character of rustic bracket shelves?
Are you looking to infuse some rustic charm into your home décor? Look no further than the exquisite selection of Rustic Bracket Shelves from Traditional Beams!
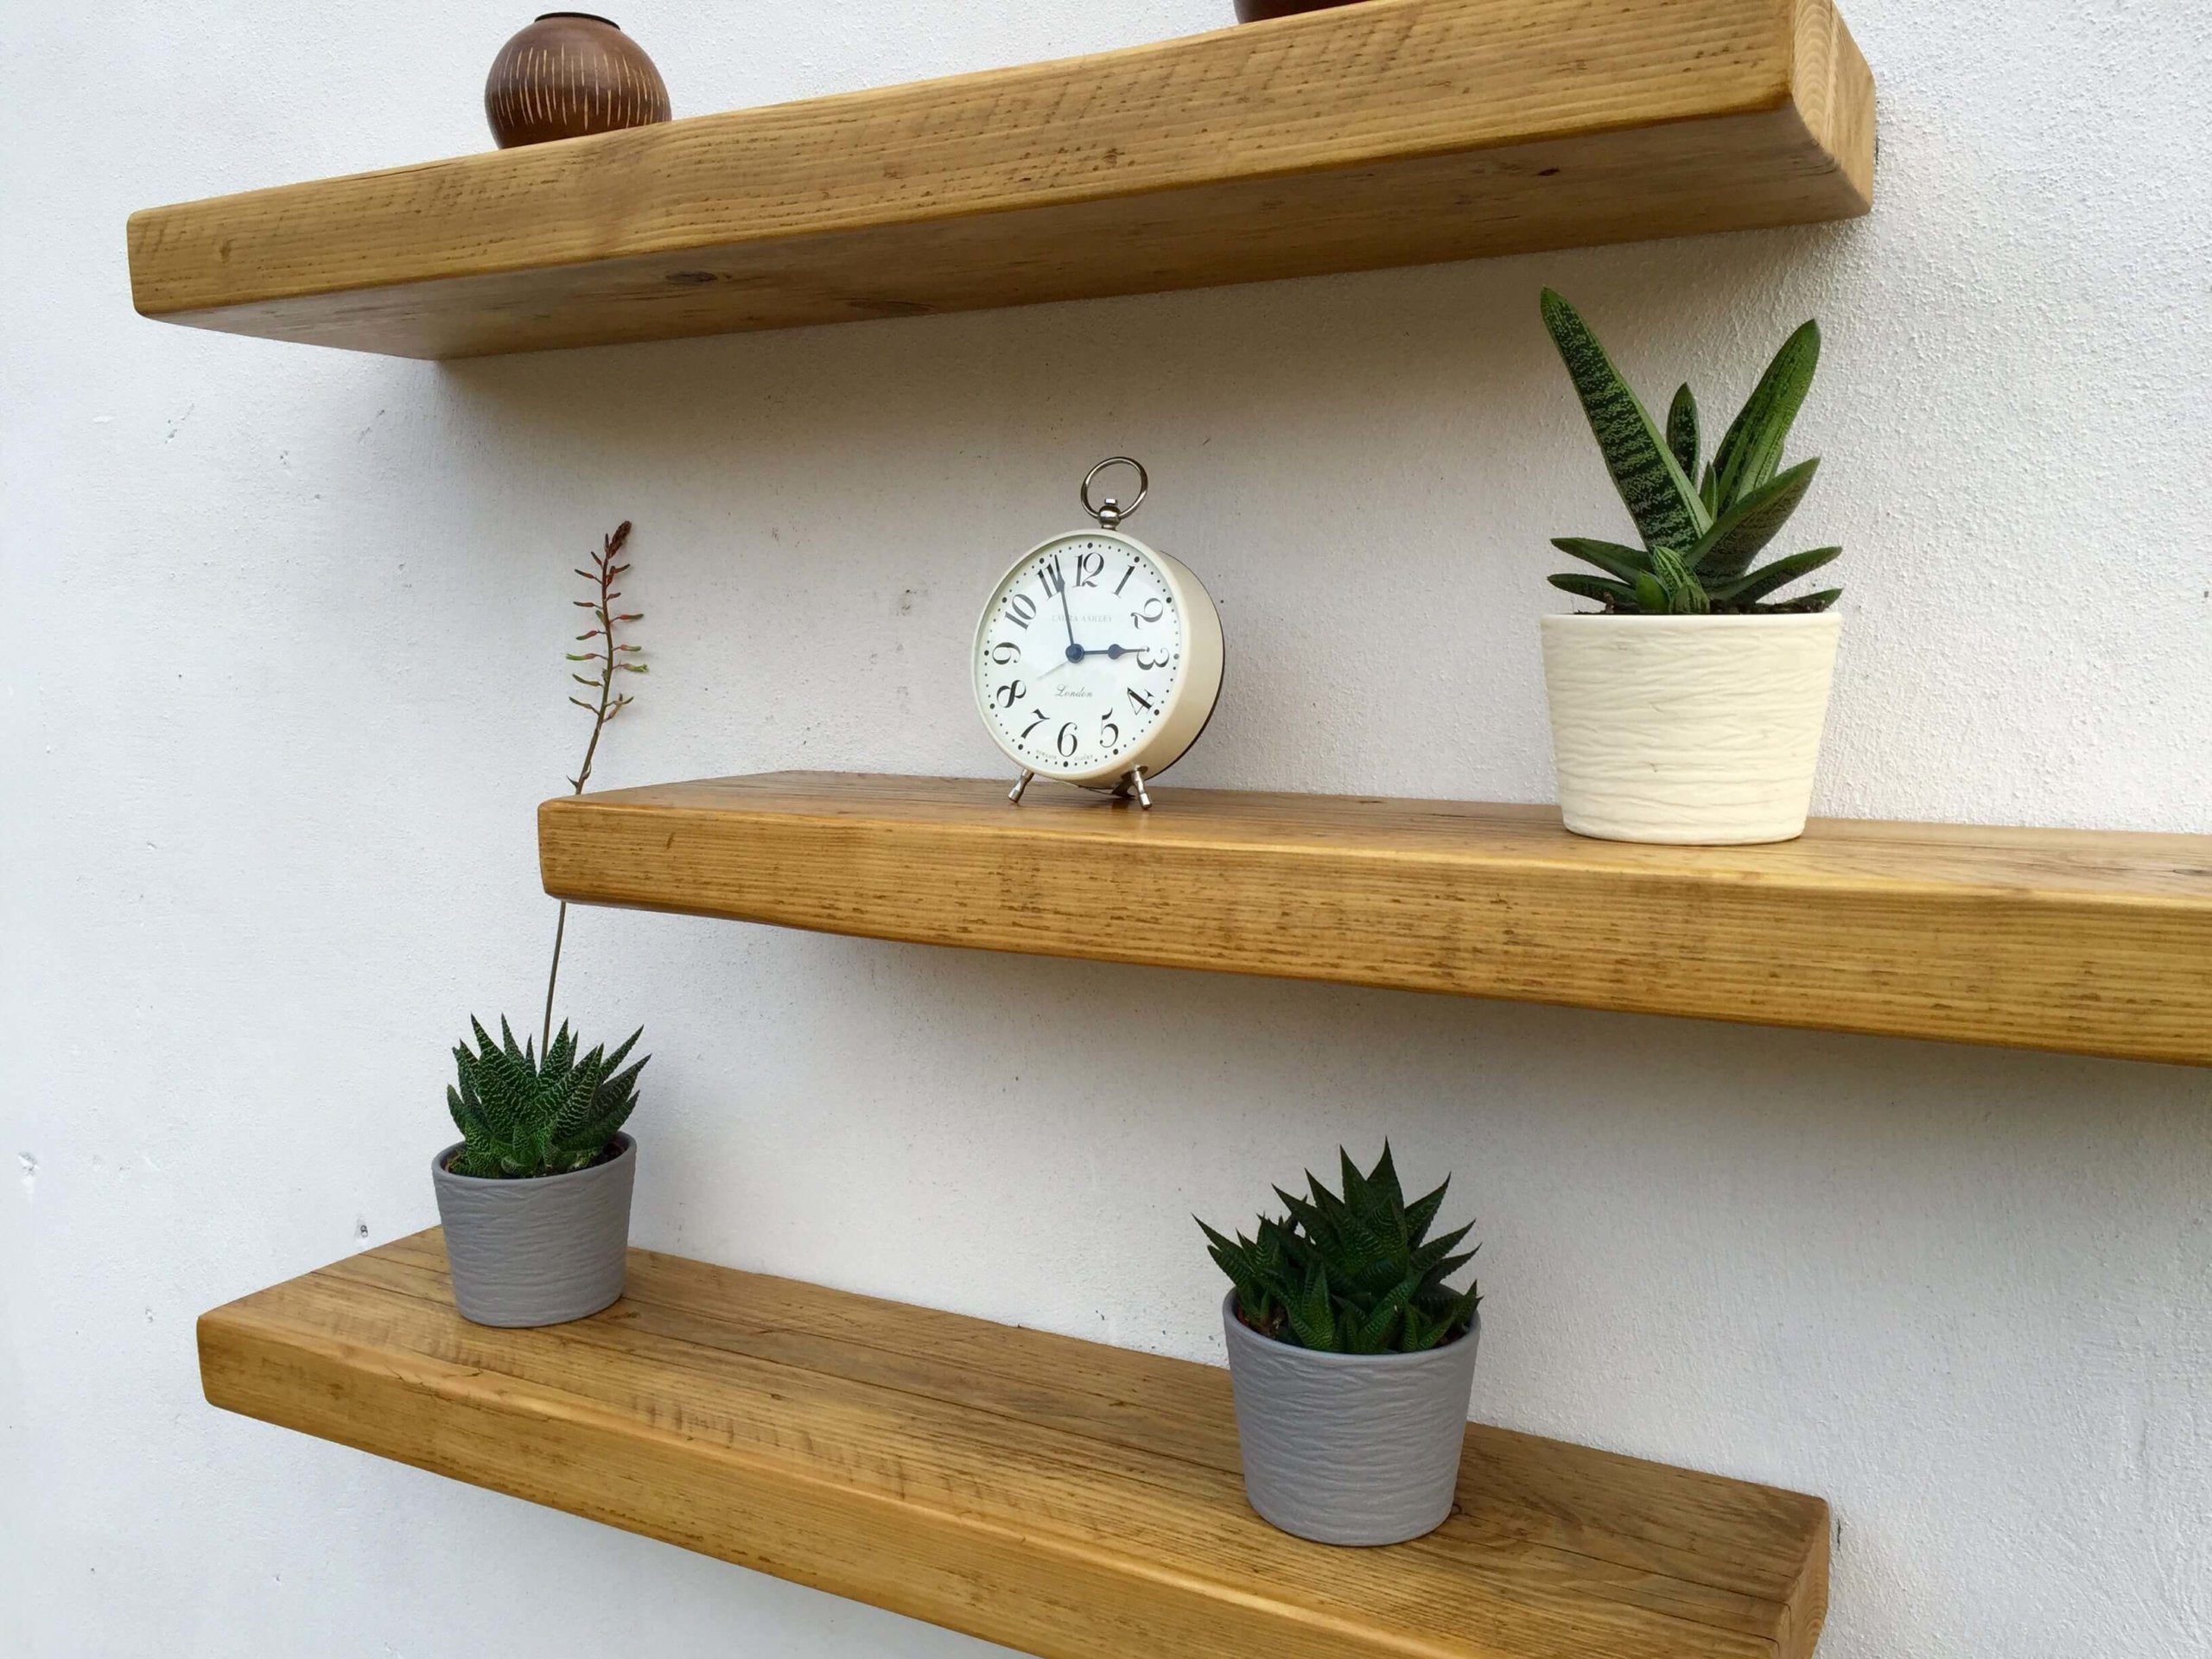
Rustic floating shelves have become a staple in modern interior design, adding charm, warmth, and functionality to any space. These versatile shelves not only provide extra storage but also serve...
In the world of interior design, oak shelving, such as floating and bracket shelves, is more than just a mere storage solution; It is not just a practical addition to...
There's something inherently inviting about the rustic charm of country-style interiors. It's a design aesthetic that conjures images of cosy cottages, warm firesides, and the timeless beauty of natural materials.
The kitchen is often considered the heart of a home, where families gather, meals are prepared, and memories are made. To enhance the functionality and aesthetics of this vital space,...